I love pedicures and up until last year, I’d go to the spa every month for a pedicure. But man, pedicures are expensive! Sure, it’s nice to relax while someone does all the hard work but it feels nicer to save money. After researching cheap pedicures, I found out the best way to not splurge on pedicures is to do it yourself at home. Even though I was initially apprehensive, I was shocked at how well it turned out the first time I tried it. So unless someone offers me a gift voucher for a pedicure, I do it at home and couldn’t be happier with the results. Here is all you need to know about this easy DIY pedicure at home that is just as good as the ones you get at your local spa!
Polish off!
What you’ll need:
- Cotton rounds/pads/wad
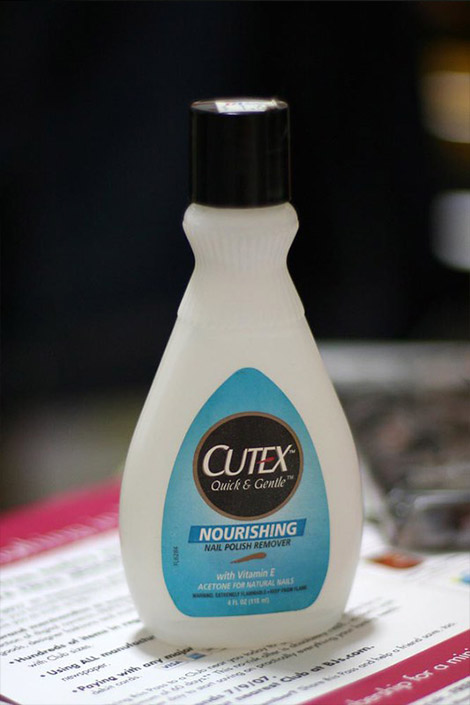
- Nail polish remover
You need to start off with a clean set of feet for a pedicure. If you are like me, chances are you almost always have polish on your toes (even though it’s mostly chipped). Remove any trace of nail polish on your toes using some cotton and nail polish remover. I prefer the acetone-free removers as they are gentler.
Tip– If you are unable to remove the nail polish on the edges, a q-tip dipped in nail polish remover should do the job.
Cut and file away!
What you’ll need:
- Nail cutter
- Nail filer
- Cuticle cream
It’s time to get your nails in shape. You need a good pair of nail cutters and a nail filer for this. I’d suggest using a separate nail filer as the one attached to the nail cutter is a bit harsh. Cut your nails if they’ve overgrown and then shape them with a nail buffer. Once you are happy with the length and shape of your nails, apply some cuticle cream to the nails.
Tip: If your nails are really rough and hard, I’d suggest soaking them in warm water for a few minutes before working on them. The warm water softens the cuticles making it easier to work with.
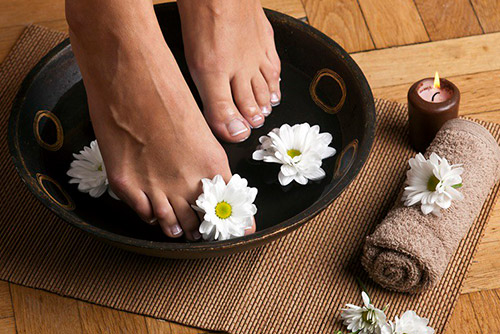
Soak!
What you’ll need:
- A bucket of warm water
- Bath salt/Shampoo
- Flower petals and candles (for aesthetic purpose)
This is the part of the home pedicure that offers the spa-esque feel and I usually go all out with this step. Find yourself a nice quiet corner in your house, get a bucket/basin of warm water, add some bath salt or shampoo to the water, and get ready to relax. Now on to the spa part- to truly give it a spa-like feel, light some scented candles in the room and add some flower petals to the water. Read your favourite book, sip on some green tea, or listen to some music while you soak your feet.
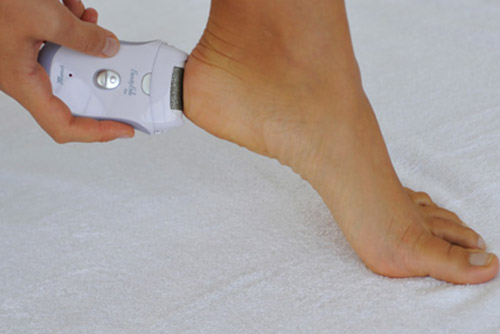
On your heels!
What you’ll need:
- Callous scraper/Heel file
- Paper towel
After you are done soaking your feet, dry your feet till they are barely damp. Place some paper towels on the floor and use a callous scraper or a heel file to scrape away all the dead skin on the soles of your feet. Focus only on the rough areas on the underneath part of your feet. The paper towel will catch all the dead skin debris and trust me, you’ll be surprised at how much dead skin you’ll have on your soles.
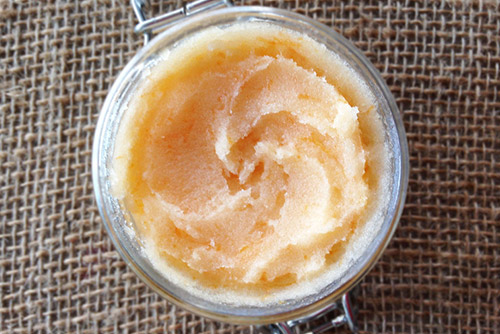
Exfoliate!
What you’ll need
- A foot scrub
- Water
Exfoliate! Exfoliate! The one thing that guarantees soft feet is exfoliating. Invest in a good foot scrub or make your own with granulated sugar, honey, and olive oil. I scrub up to my ankles for about two minutes and wash it off with warm water.
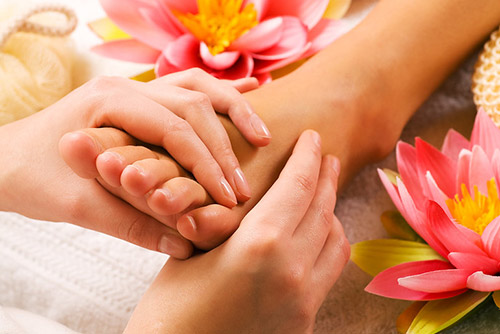
Massage away!
What you’ll need:
- A moisturiser or foot massage cream
This part of the pedicure will leave you feeling relaxed and rejuvenated. Massage your feet and dissolve those knots away with either a foot cream or a moisturiser. If you are not keen on spending on a foot cream, make your own using vitamin E oil and some shea butter.
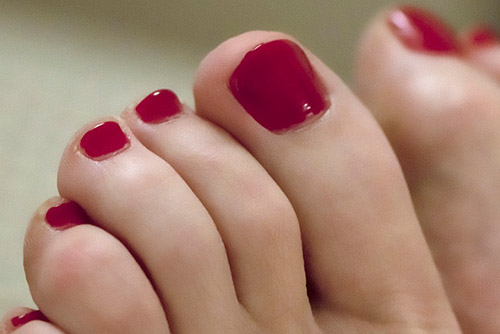
Polish on!
What you’ll need:
- Nail polish (Duh!)
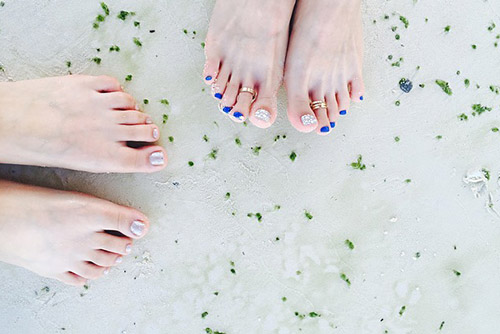
Now comes the fun part, bring out your creative skills and paint your nails pretty. I usually prefer nude nail polish on my toe-nails but once in a while, I get creative with some nail art. Pick your favourite colour and paint your freshly prepped toenails! Remember to let the previous coat completely dry before going in for the next coat of polish. When you are done, finish it off with a top coat polish.
Do you have tips for an easy DIY pedicure at home? Let us know in the comments below!